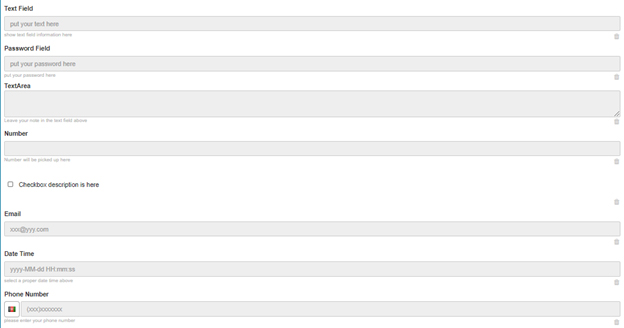
How to Use the Basic Features to Create a Form
Now that we have studied all of the basic features, let’s create a form using them. All you need to do is either click or click/drag and drop the element in your form. We have done it with all of the elements and here is how a form with just the Basic features looks like:
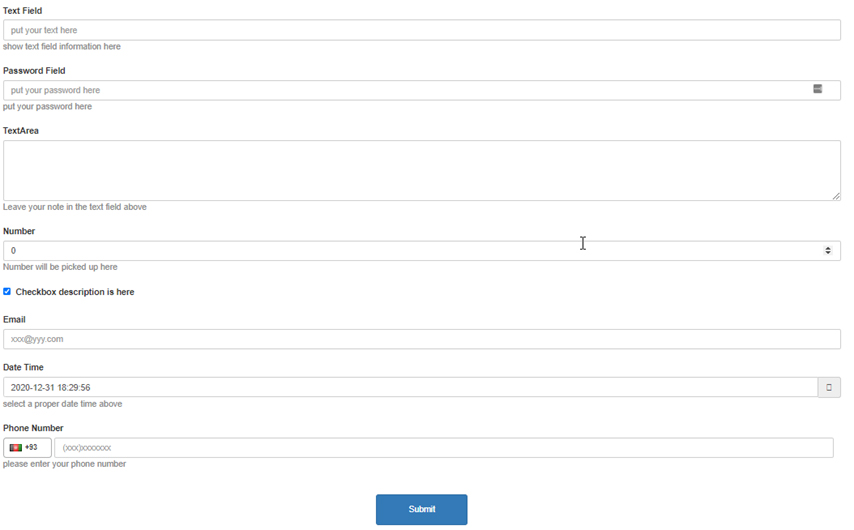
Once you save and view the form, here is how the end result looks like:
But off course you won’t be using all the default titles and values. You can change these values by changing the following:
a. Title Label – Change the title of the specified element label.
b. Description – Change the description of the specified element.
c. Placeholder Text (available with Number, Email, Date/Time and Phone Number) – By default, you will see some text already written in these fields. You can also change this default text by rewriting it in this tab.
d. Maximum number of characters – Define the maximum number of characters that you deem appropriate for each element.
Let’s say we want a user registration form, and need to change the Title label, and Description fields, etc. to reflect the registration process. Here is how the form looks like:
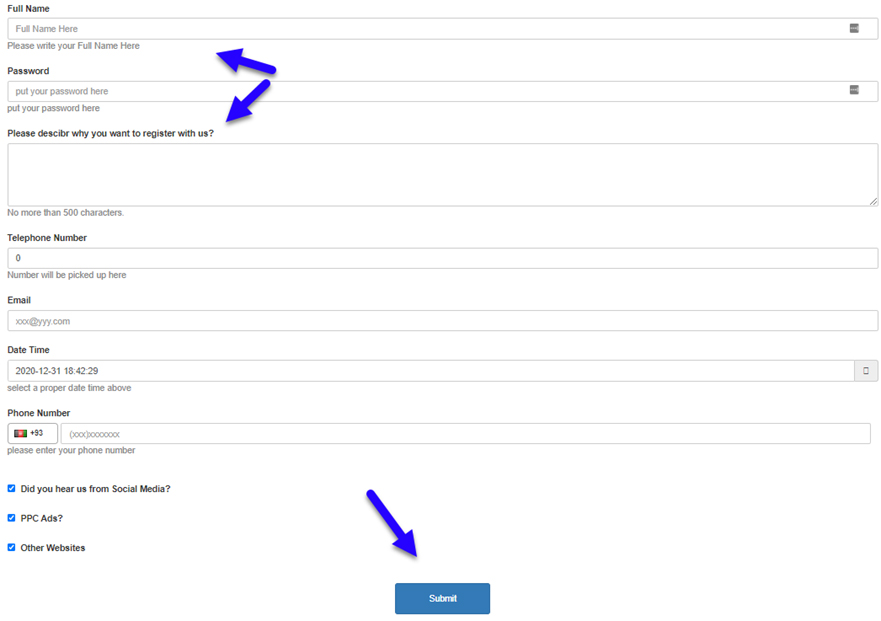
You can see how the default values and labels change make it a whole lot more professional.
Now let’s move forward on using the Data Binding features, which are more advanced than the basic ones.