How to view and manage Project Users
The ability to have users for every project is a unique feature with Go With Form. We allow you to collect user data with or without them requiring to sign up and login. It is a purely optional feature but should come into handy in case you want users assigned for your project.
Please note that only premium users will be able to access this feature and here’s how to access it:
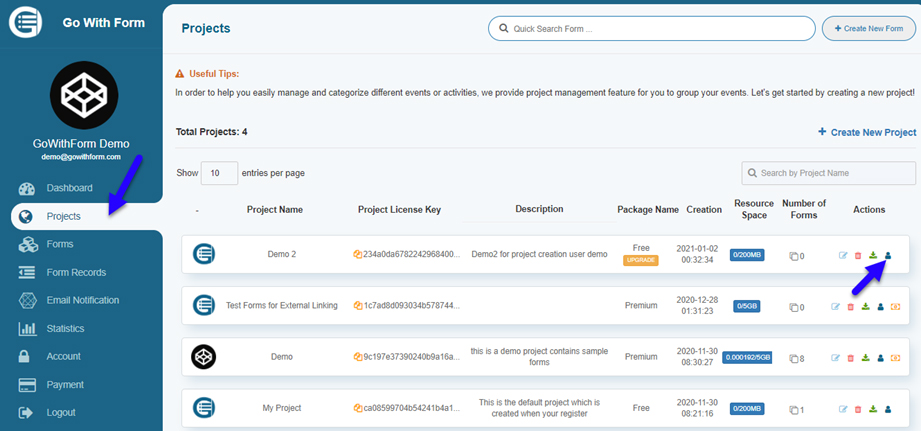
Head over to the User Dashboard, click Projects and then on the small profile icon next to the project. Remember when you assign rights to any user, they are done for each different project specifically. Any and all forms within that project will be accessible to the registered user.
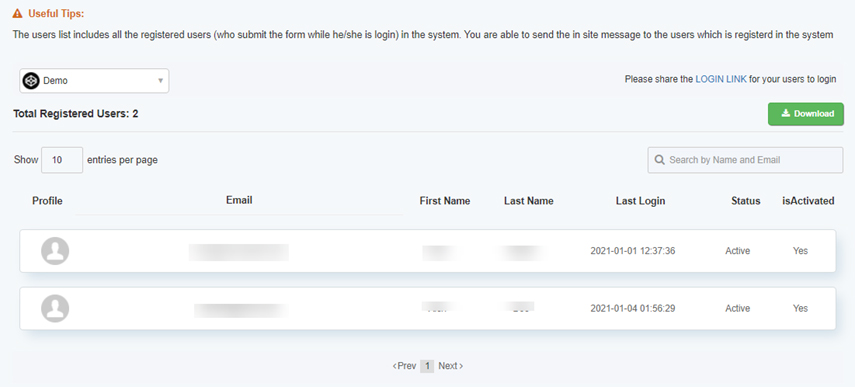
Registered users will be shown in this table, details of which you can also download in an excel format.
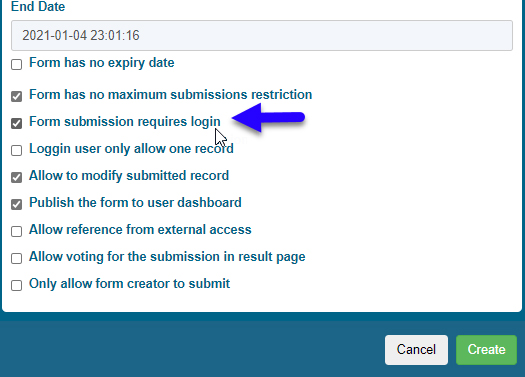
But it is also important for you to know how the users can be added for each project. To do this, once you are creating the form, you need to check the option Form submission requires login.
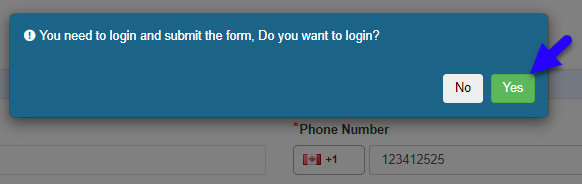
Once you share the form link with your users, after filling the form and hitting Submit, they will now be asked to create a login. To create the login, they need to click on Yes as shown below:
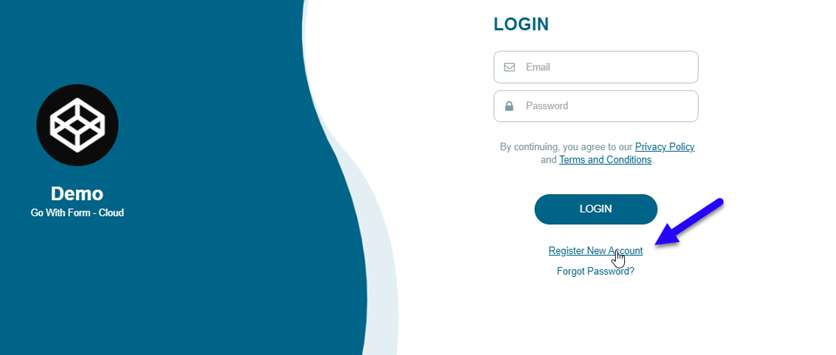
You will now be redirected to the project’s login creation page, where the user will be able to create a login and register to submit the form. The user can login if they are already a registered user, or click Register New Account to register for a new one.
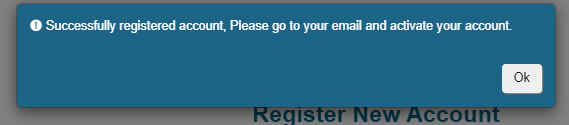
Your user will now be able to create a new account and register by filling in all the details

The user will now receive an email with the activation link.
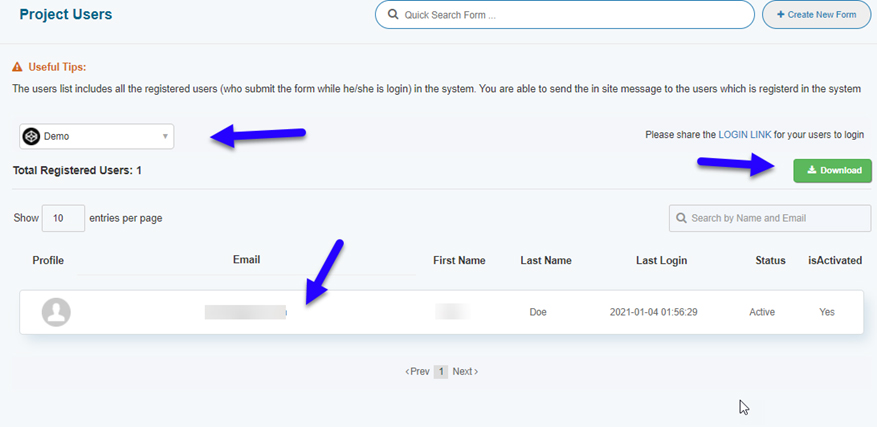
Back in the user dashboard, click Projects and then the profile icon.
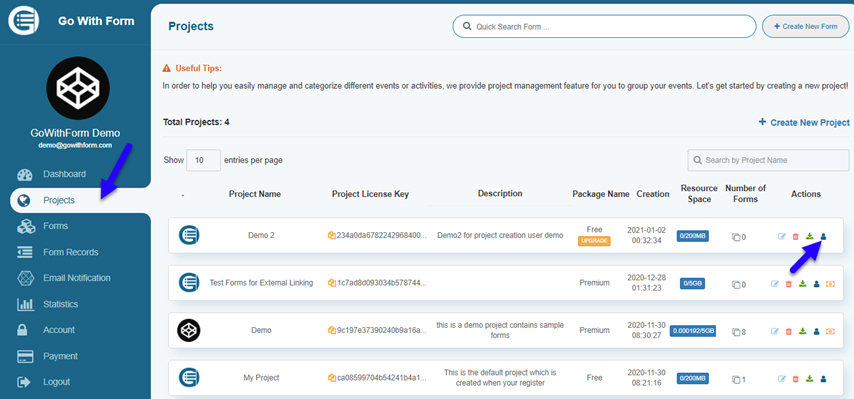
You will now see the new user registered once they have activated their account through email.