How to integrate Payements in Forms
Go With Form has a unique feature that allows you to safely and securely accept credit card payments right in your form! Everything is being done in a secure environment where Go With Form NEVER collects your credit card information.
Your users get a secure environment powered by Stripe that automatically ensures a smooth transaction experience.
In order to accept payments, you have to upgrade from FREE to Premium package ($199 a year). Stripe payment feature is not available on Pro plan either.
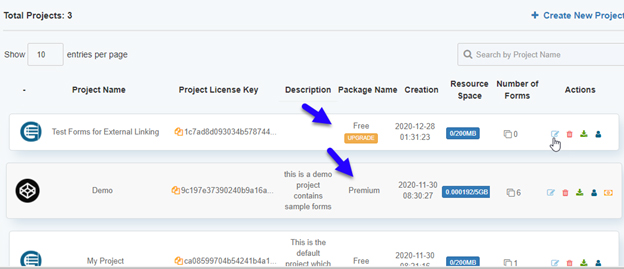
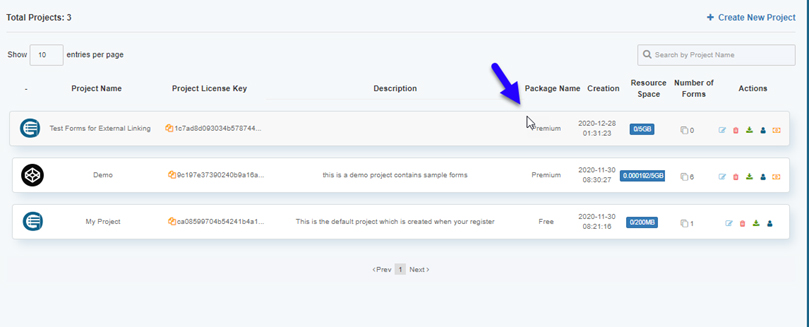
To determine the account type, head over to Projects. You can now see your project type with labels such as Free, Pro and Premium.
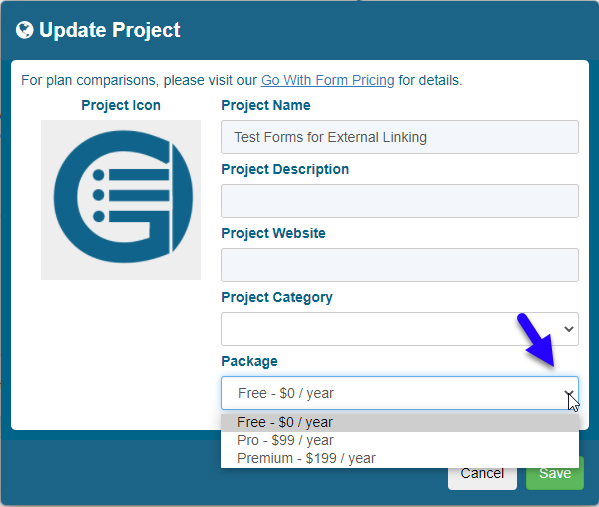
To upgrade your FREE plan to a Premium (which is the only plan that accepts Stripe payments), click the project editor. You will now see Project Settings. To upgrade from Free to Premium, click the drop-down menu and select Premium - $199 / year option.
You will now see additional options such as Google Analytics UA Code, Stripe Currency Code, Stripe Publishable Key and Stripe Secret Key. For payments to work, you need to select your default currency and enter the Secret and Publishable keys that you can get from your Stripe account details.

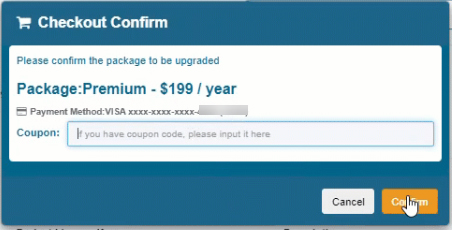
Once you have entered all of the details, click Save. In a new popup window, confirm the final transaction and click Confirm. Your valid payment method will be charged for $199.
Your package will be updated once the page refreshes.
Adding Stripe payments#
Now that we have completed the prerequisite for integrating Stripe payments in your form, we will now go ahead and add the Stripe payment functionality and see how it functions for the end user.
It is important to note that Go With Form DOES NOT collect and/or process any credit card information. All payments are safely and securely handed by Stripe.
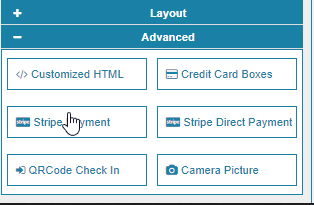
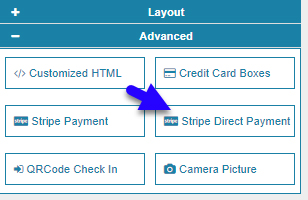
Go to the Advanced layout tab in your form and click on Stripe Payment.
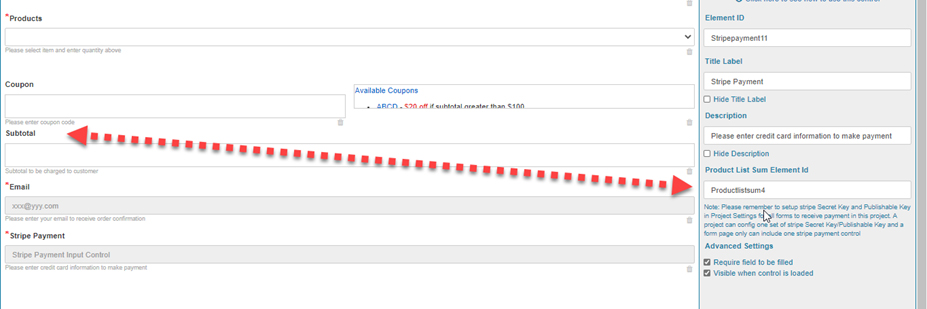
You will now see a Stripe Payment Input Control. Now go to the Property tab. Under the Product List Sum Element ID, copy and paste the Element ID of subtotal box. Stripe needs to know what payment it needs to charge on the user’s credit card. And the Product List Sum Element ID is important to specify the subtotal amount for Stripe.
Save and View the form. Add an item to the cart and you will now see the subtotal. Enter the credit card details and click Buy.
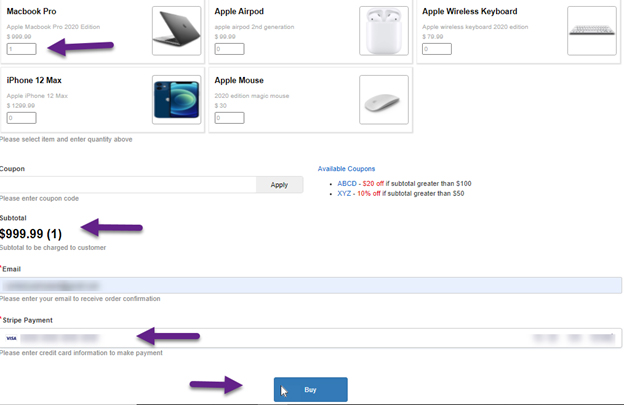
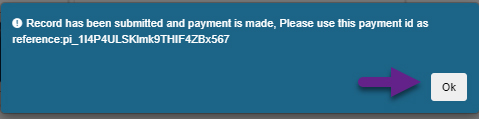
A charge of $999.99 will be applied to your credit card. You will get a confirmation message as a popup, and will also receive a confirmation message on your email.
Here is the confirmation email:
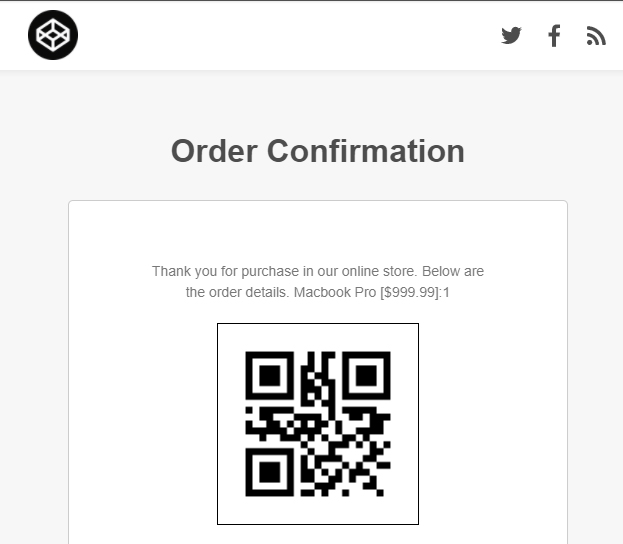
If you want to change the text for Order Confirmation Email, head over to Form Config.
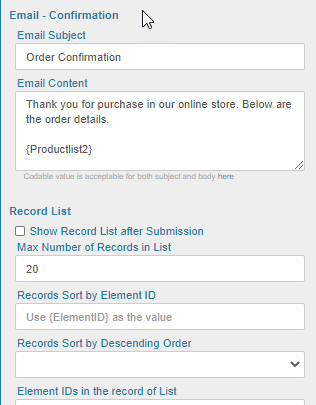
Now scroll down and under the Email Confirmation box, you will see all the settings. You can change the text to as deemed appropriate.
Stripe Direct Payment#
The Stripe Direct Payment is an added-feature for your form but should NOT be used in junction with Stripe Payments.
The Stripe Direct Payments allow you to set a specific amount that can be charged on a user’s credit card. This is a must-have feature for NGOs that are looking for donations, and/or businesses relying on a monthly recurring business model.
To add Stripe Direct Payment, follow this tutorial:
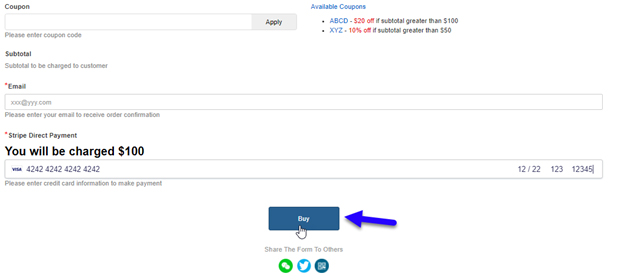
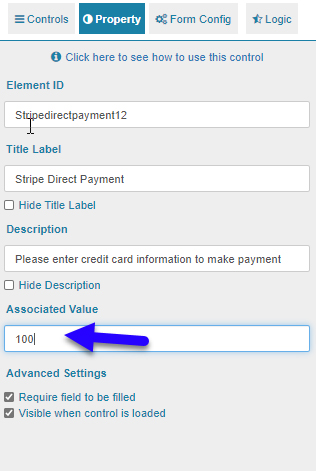
Go to the Advanced layout tab in your form and click on Stripe Direct Payment.
You will now see the Stripe Direct Payment Input Control. In the Property tab, change the Associated Value to a numerical figure for the payment. Setting it to 100 will direct Stripe to charge $100 to the user’s credit card.
Now Save and View the form. You will see that the user is pre-informed about an automatic charge of $100 on his/her credit card. The payment works essentially the same way as in Stripe Payment feature.