How To Configure Project Advanced Settings
The best part about Go With Form is that there is no limit to the number of projects and forms you can create.
You can also assign each project user rights, and they will have access to all forms within that project. It eventually depends on how you want to collect data and grant user permissions.
Let’s start off with the basics by demonstrating on how to create a new project and configure advanced settings.
Inside your user dashboard, click Projects, then +Create New Project.
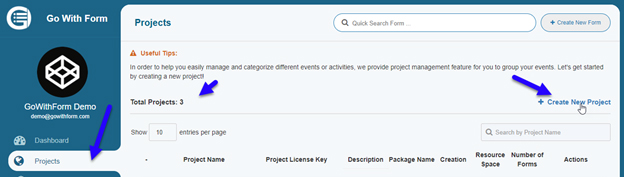
You will see a new popup window. There are three types of projects that you can create in Go With Form. With the Pro plan, you get the ability to track user forms by adding your Google Analytics ID. However it is only with the Premium plan that you get the option of integrating Stripe and allowing users to make payments right from your form. Once you select your plan type, click on Create and your project will be created.
a. Free
b. Pro ($99/year)
c. Premium ($199/year)
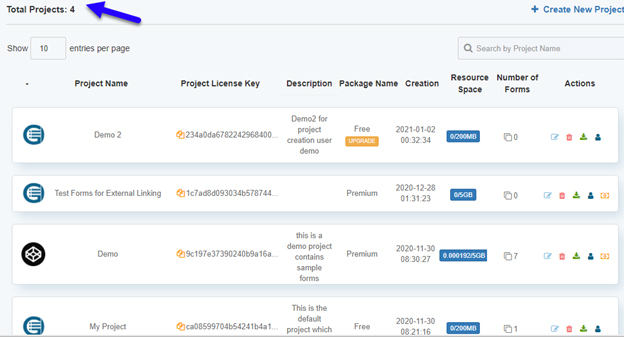
You will also see the total number of projects on the left, as follows:
How to edit or upgrade your project#
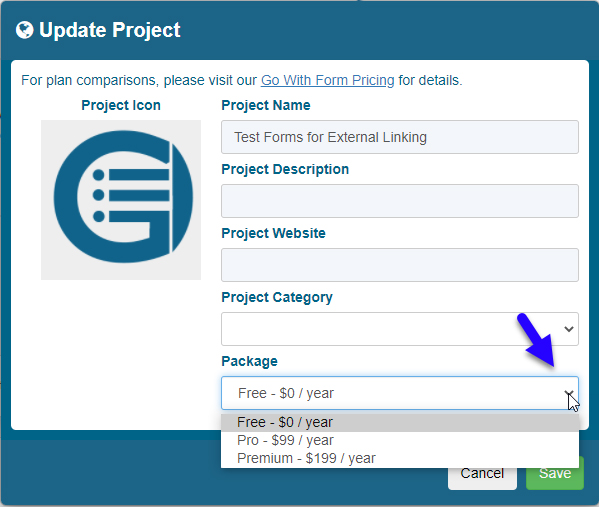
To upgrade your FREE plan to a Premium (which is the only plan that accepts Stripe payments), click the project editor. You will now see Project Settings. To upgrade from Free to Premium, click the drop-down menu and select Premium - $199 / year option.
You will now see additional options such as Google Analytics UA Code, Stripe Currency Code, Stripe Publishable Key and Stripe Secret Key. For payments to work, you need to select your default currency and enter the Secret and Publishable keys that you can get from your Stripe account details.
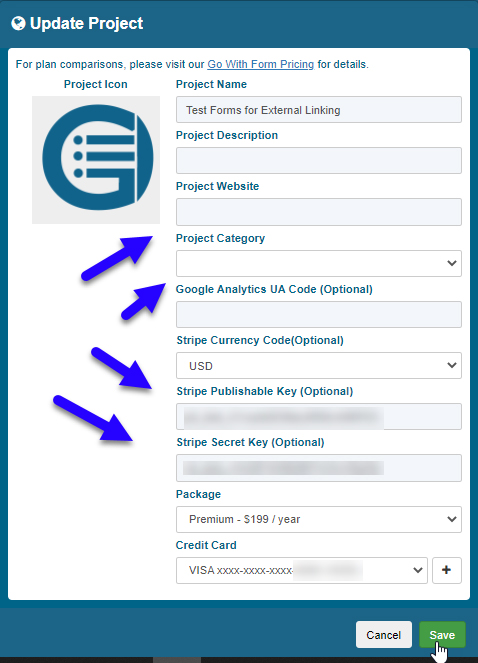
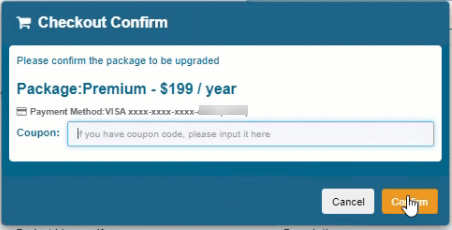
Once you have entered all of the details, click Save. In a new popup window, confirm the final transaction and click Confirm. Your valid payment method will be charged for $199.
Your package will be updated once the page refreshes.
